As you know my everyday driver is a Windows 10 PC and I usually can't go for another system which is as smooth and user-friendly as it gets. But I have few unpleasant quirks with my daily driver which does not allow me to experiment with opensource software packages and builds, which usually oriented towards Linux gear. Previously my dependency was with Vagrant, cause its easily available boxes, configuration management abilities and cli mode approach. But from recent days, I started to feel a bit distanced with the Vagrant tool, that became a bit sloth on its own. So, we got an alternate tool to handle my VM jobs. Introducing VMWare Workstation 16 Player (works well with Windows Hyper-V platform) which comes with GUI features. Compared to Vagrant, VMWare Workstation is not a CLI only tool and has more towards UI approach. So, in this blogs lets dive into the steps, I took to setup Concourse CI on top of Rocky Linux for my Devops CI/CD lab experiments.
Prerequisite:
- Get the VMWare Workstation 16 Player from GetintoPC
- Download your Rocky Linux ISO from Rocky Linux site (I used Rocky Linux 8 minimal iso)
Installing Rocky Linux using VMWare Workstation:
At first lets create an empty VM in our VMWare Workstation tool with required configurations, follow along the snips
Since, VMWare Workstation would recommend us to use single core CPU, 2GB of RAM & 20GB of Disk space for RedHat Linux, we need a minimum of 2 core CPU and 4GB of RAM to keep our Concourse running good. Will modify our configuration as dual core CPU, 8GB of RAM and 20GB of disk space. Also, add your downloaded Rocky Linux ISO to the CD/DVD section as a source of OS installation.
Configuring our VM:
Post OS installation we change the hostname with hostnamectl command and get its ip too
$ sudo hostnamectl sethostname rocky8.local
$ ip a
Now, we can use our powershell to log into our Rocky Linux machine using ssh & perform a dnf update
$ ssh <username>@rocky8.local
$ sudo dnf update -y
Now, we install docker & docker compose, then start docker service & enable it
$ sudo dnf config-manager --add--repo=https://download.docker.com/linux/centos/docker-ce.repo
$ sudo dnf install docker-ce -y
$ sudo systemctl start docker
$ sudo systemctl enable docker
Getting started with Concourse:
Lets download the docker compose file to deploy our Concourse CI, and install vim to edit our docker compose file
$ sudo curl -LO https://concourse-ci.org/docker-compose.yml
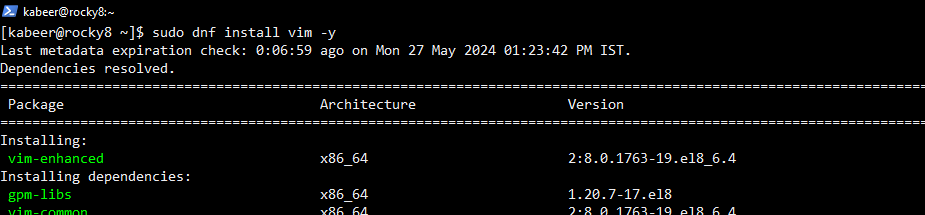
$ sudo dnf install vim -y
We need to modify the docker compose file based on our requirement. The parameters we are modified below are CONCOURSE_EXTERNAL_URL, CONCOURSE_ADD_LOCAL_USER, CONCOURSE_MAIN_TEAM_LOCAL_USER, CONCOURSE_CLUSTER_NAME. rest we can keep as it is.
Now, we deploy the Concourse CI cluster using docker compose
$ sudo docker compose up -d
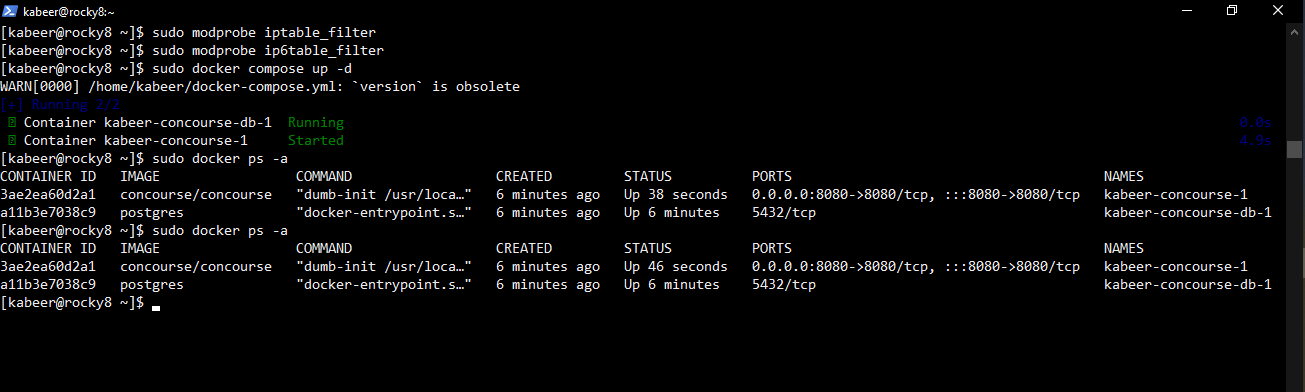
There are 2 major parts in Concourse, the first is Concourse web server and the second is Postgres DB. We see that the web server is getting crashed due to some discrepancies with our setup configuration. Which could be seen using docker commands
$ sudo docker ps -a
$ sudo docker logs <containerID>
After doing some research over internet, i found below solution which could solve our web server crash in Concourse, Follow the below commands
$ sudo modprobe iptable_filter
$ sudo modprobe ip6table_filter
Now, we can verify our Concourse CI setup using our we browser with http://rocky8.local:8080 URL, and try to login using admin credentials
Thus concluding our own local Concourse CI setup. Let me know if you found anything different while trying the mentioned steps and we will try to figure out the solution to explore more further. Will keep you guys posted about the usages and tips with Concourse in near future. !


Comments
Post a Comment